Schedules, other calendars, hour count, substitute pools, etc. are all stored in a given school year. This means that every school year starts blank by default, so one could also consider this a new 'version'.
This article covers: creating a new school year, editing and publishing the school year, and importing information from previous school years.
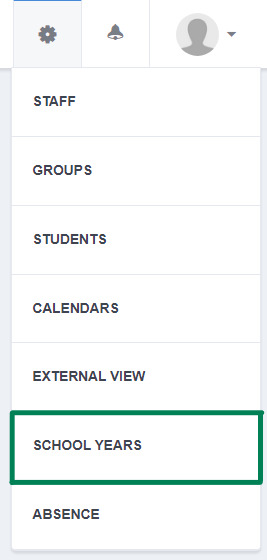
To create, activate, or deactivate a school year, click on the gear icon (⚙️) in the top right corner and click “School year”.
You can create new school
years by clicking on the plus-icon.
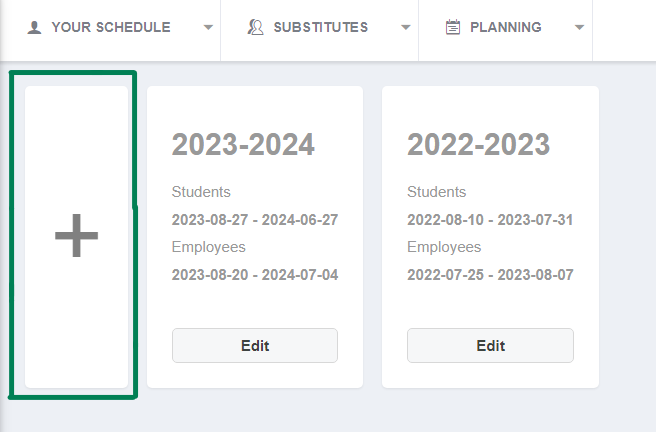
To activate/deactivate the school year or edit the duration of the school year, click “Edit”. Making the school year "Active" allows you to begin customizing and setting up your school year. And the "Publish" setting enables the options to allow others to see the school year.

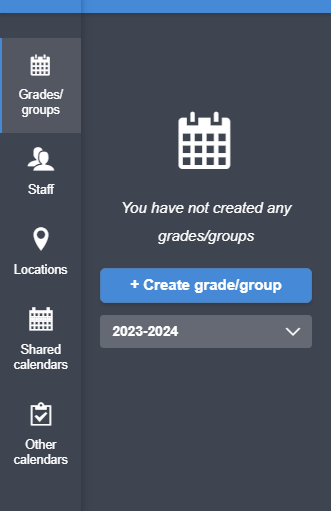
If you wish to import your setup from a previous school year into the new one, go to the "Grades/groups" tab on the left and select your new school year. Then click "Create grade/group".
From here you can begin creating your grades. If you want to import information from the previous year into the new one, click on the dialogue line below the text saying "School year".
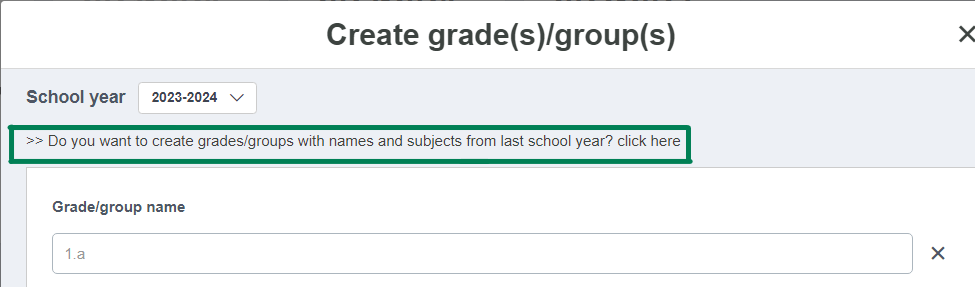
This will take you to a page where you can select how much information you want to import for each grade/group. Once you have selected the options that fit you new school year, there will be a "Create" button in the bottom right. Click it and wait for the system to import the information for you.
