At the top menu in Docendo, in “Substitutes “, you find the function for handling absence and substitution. The different aspects of this functionality are listed here in their order of appearance:
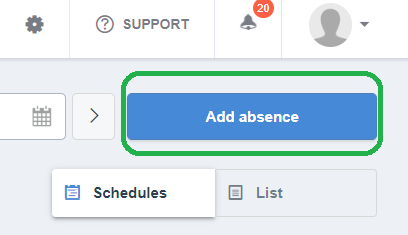
1. Add Absence
2. Finding Substitutes
3. Comparing Substitute Schedules
4. Filtering Staff and Groups
5. Organizing the Substitute Overview by Substitute Pools
6. Creating an Algorithm for Automatic Sorting
1. Add Absence
The starting point
when dealing with absence is to mark the absence of a teacher or user. When
doing this, the staff member’s work hours and classes will be listed among the rest of
the absence for this time period.

When adding absence, you type in the cause of the absence, either an already existing cause or a new one. The default setting for the time period is today’s date from 08:00-16:00. However, this timeframe can be changed. Consequently, the absence can last for a long period of time as well.

Teachers and users can add absences themselves in their own calendars. This absence will, in the same way as explained above, show up on the list among the other absences. Within the list, you can see the particular hours that need to be covered by a substitute due to the absence. You get an overview of this by clicking on “List” on the right side.

2. Finding Substitutes
When absence has been added for one or several staff members, you will get an overview of the absence and the hours that need to be covered. The overview is organized in alphabetical order. See the example below.
Next to each class, you can see if the class is affected by the absence or not. When a substitute is selected for the specific lesson, the Status marker will be marked with a green color. This makes it easy to get an overview of the hours that still need to be covered.

You can manually edit the status of the absence for each lesson, whether it shall be listed as pending or covered by a substitute. Click on the Status marker for the specific lesson, here you can choose whether it is covered or pending. This can be useful in cases when there are multiple teachers carrying out a given lesson. Hence, you may not need to cover the class with a substitute.
To add a substitute for a lesson/class, click on the section “Substitute”. Here, there will be a list of names and potential substitutes. Those marked with red are busy this hour. The reasons why they are busy are noted on the right side of the name. Those names marked in blue have marked their working hours in their calendar and are available at this time. The green color indicates that a person is already added in the same lesson as the one absent.
Click on the name to select the person as a substitute. It is still possible to select a person marked in red and busy other places.
3. Comparing Substitute Schedules
You can switch between viewing the absence as a list or by staff schedule.
The schedule overview provides a more visual picture of absence. Today’s
absence will be placed at the top and you see classes that need to be covered
and the timing of it.
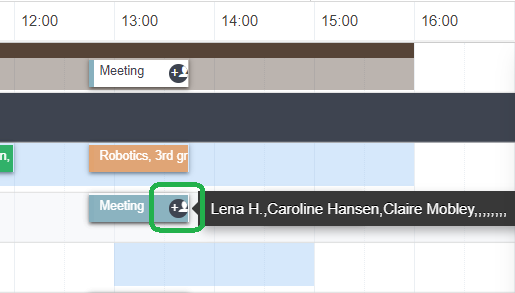
Today’s absent are placed at the top while the potential substitutes are placed underneath the black horizontal line. When you click on one of the classes, a mark will occur within the specific time period. This marking allows you to get an overview of the potential staff and external substitutes. If there is a "+” icon in a class, it means that there are multiple teachers in a class. This is useful if you want to use a person already scheduled in the class or if you want to “borrow” a teacher from a class where there are several teachers.

In the same way as dealing with absence from the list mentioned above, you can mark these classes as covered with the green "Status" dot.
4. Filtering Staff and Groups
The function “groups” is also useful when dealing with absence and substitute. You can filter the absence/substitution schedule to the preferable and most relevant overview by selecting specific groups, such as "Math teachers", "Staff" or "Teachers", for instance.
Click “select filters” to filter the display, for instance, by certain teachers or staff.
It is generally considered a good idea to create a specific group/tag for external substitutes.
5. Organizing the Substitute Overview by Substitute Pools
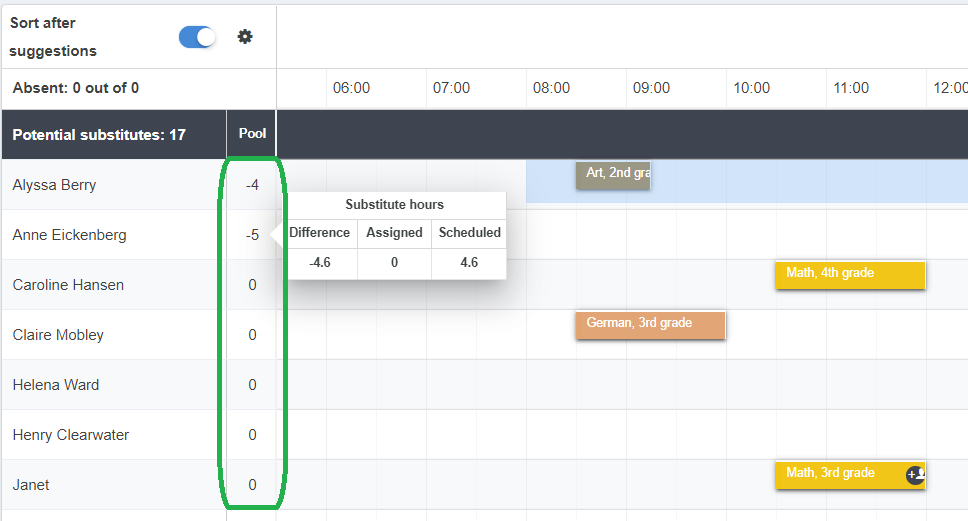
The function “Substitute Pools” can be used to assign and keep track of the number of substitute hours for each teacher. Consequently, the substitute pools that are created here (as a means of showing their remaining allocated hours) appear directly when dealing with substitutes. Another advantage with this function is that you are able to sort staff and teachers and, thereby, see who has the most and least hours left within the substitute pools.
This way of sorting substitutes can be used in combination with groups and filtering. Thus, you can, for instance, filter substitute pools in specific Teams or among Math teachers.

6. Creating an Algorithm for Automatic Sorting
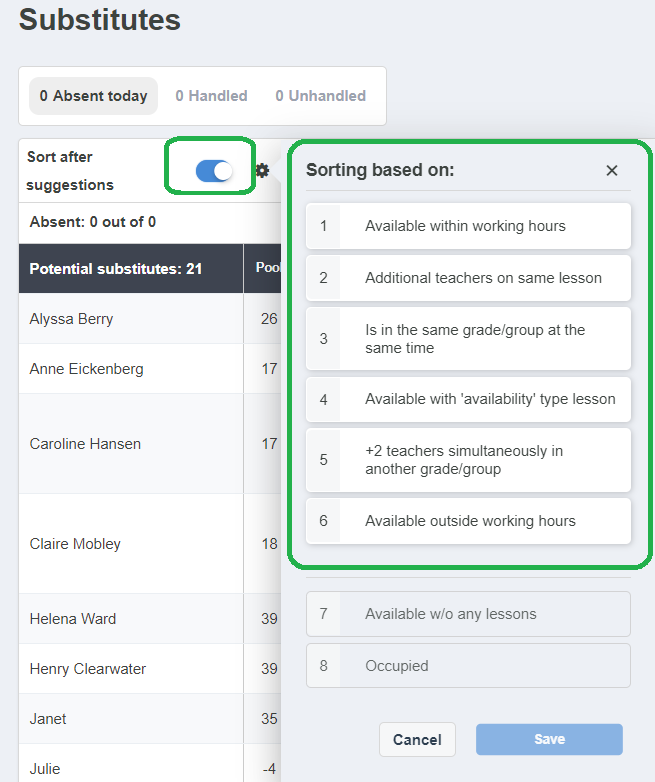
In substitute management, there is a function based on algorithm that can be helpful when dealing with absence. This function allows Docendo to suggest the most viable substitutes to the specific class. As a default setting the automatic sorting is off, meaning that you must manually activate it every time you want to use it. When it is activated and you have clicked on the lesson you want to cover, there will be a sorting of potential substitutes. On the picture below, you see types of suggestions the algorithm may be based upon.

<o:p></o:p>
At the top menu, you will see the people that Docendo believes are the most relevant substitutes. On the bottom, the least relevant ones are suggested. The advantage with this function is that it may be time-saving. Nevertheless, the relevance of the algorithm depends on how you and your school deals with substitutes and absence. This method of sorting can also be combined with filtering substitutes, for instance, by groups/tags.
<o:p></o:p>
<o:p></o:p>
<o:p></o:p>